

 Bodno A10From $995
 Bodno A20From $1,595
 Bodno A30From $1,995
 Bodno A40 ProFrom $2,995
 vs.
vs.

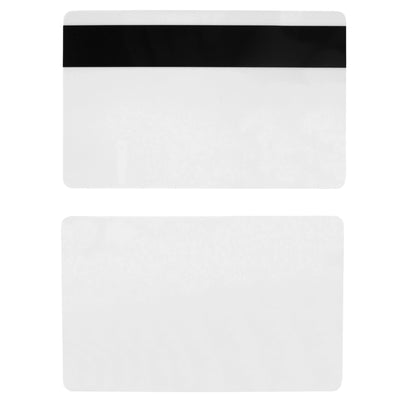
 CR80 30 mil PVC cardsFrom $3.99
 Adhesive-backed PVC cardsFrom $9.99
 Proximity cards (NoMativ)From $14.99
 NTAG NFC cards, 100 packFrom $59.00
 Buy the softwareDesign and print ID cards on PC and Mac

On this page
Employee badges that only show a name and photo waste real estate — adding an emergency contact line on the back turns a standard ID into something that actually helps in a crisis, and the setup takes less than 10 minutes with Bodno ID Card Software.
- How to add emergency contact info to an ID badge: build a back-of-card text field in Bodno ID Card Software, not a sticker.
- Bodno ID Card Software lets you add and format an emergency contact field on a badge template in under 10 minutes.
- Use 10-12pt font for emergency contact text on a standard 2.125 x 3.375 inch card so it stays legible in 2026.
- A single-sided printer like the Bodno A20 handles a 200-badge emergency contact print run without a ribbon change.
- Skip handwritten contact info taped to badges — it peels off within weeks and most dress codes prohibit it.
Why this matters
A badge with an emergency contact field answers the first question a first responder or HR staffer asks after an incident: who do we call? Schools and healthcare facilities in particular have started treating this as a baseline requirement rather than a nice-to-have, because a name badge alone tells nobody anything useful in an emergency.
The fix is not complicated. You're adding one text field to an existing badge layout in Bodno ID Card Software, positioning it where it won't collide with a barcode or magnetic stripe, and printing it the same way you print everything else. No new hardware, no new workflow — just a template update.
Most organizations get this wrong by writing contact info on a sticky label after the badge is already printed. That's a 2026 liability waiting to happen: labels fall off, ink smears, and nobody re-checks them when an employee's emergency contact changes.
What you'll need
- Bodno ID Card Software — every edition can add an emergency contact field to your badge layout
- A single-sided or dual-sided ID card printer already in use
- Blank CR80 30 mil PVC cards or your current badge stock
- An up-to-date list of employee emergency contacts (name, phone, relationship)
- A test card for proofing before you run a full batch
If your badges currently only print on one side, check whether the back is available before you commit to this layout — a magnetic stripe or proximity chip on the back changes where text can go.
The steps
1. Decide where the emergency contact field lives
Putting emergency contact info on the back of the badge keeps the front clean for the photo, name, and department — the layout most receptionists and security staff expect. Reserve the front only if your badges are single-sided and you have no other option.
2. Open your badge template in the design software
Load the existing employee badge template rather than starting over — you want the new field to inherit the same fonts and card dimensions already in use. In Bodno ID Card Software, this means opening the saved design, switching to the back layer, and confirming the canvas still matches your card stock size.
3. Add and format the emergency contact text field
Insert a text box labeled "Emergency Contact" with two lines: name and phone number, plus relationship if there's room. Set the font size to 10-12pt — anything smaller becomes unreadable at arm's length, which defeats the purpose. Common mistake: designers reuse the 6pt font from a barcode caption, and the field becomes decorative rather than functional.
4. Link the field to your database, or type it manually
If you're printing in batches of 20 or more, connect the emergency contact field to a database column so each badge pulls the correct name automatically instead of manual entry per card. For smaller runs — under 20 badges — manual entry into each record is faster than setting up a database link.
5. Test print on a blank card before running the batch
Print one card, hold it at a normal reading distance, and check that the text doesn't overlap a hologram, mag stripe, or QR code you've already placed on the back. This step catches the single most common failure: a field that looks fine on screen but prints partially under a laminate overlay.
6. Print the batch and check ribbon capacity
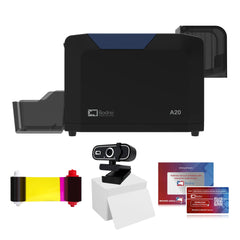
A printer like the Bodno A20 single-sided ID card printer handles a run of 200 monochrome badges without a ribbon swap, based on standard ribbon yield specs for single-side printers in 2026. Budget an extra ribbon panel if you're adding a second color to the emergency contact block.
7. Set a review cadence for outdated contacts
Emergency contacts change — divorces, new phone numbers, moves. Build a quarterly check into your badge reissue process so the field doesn't quietly go stale for years, which is exactly what happens when nobody owns the update.
Troubleshooting
- Text is too small to read at a glance — bump the font to at least 10pt and drop any field below that size; legibility beats fitting more text on the card.
- Emergency contact overlaps the mag stripe or chip — move the text block at least 3mm away from any encoded element; overlap causes both printing artifacts and read errors later.
- Ribbon runs out mid-batch — check the yield rating on your current ribbon before a large run; a half-used ribbon panel won't finish 150+ cards.
- Contact info is outdated on badges already issued — reissue rather than patch; a badge with wrong emergency info is worse than one with none, since it sends first responders to the wrong person.
- Card back looks cluttered — cut the field to name and phone only, drop the relationship label if space is tight.
Tools and resources


Beyond the software and printer, keep these on hand:
- Blank card stock sized to your current badge program
- A slot punch if badges attach with a clip rather than a reel
- Badge reels so the emergency contact side stays visible when the badge flips during the day
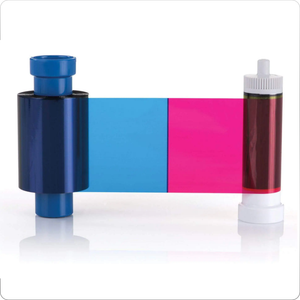
- A backup ribbon in the correct panel count for your printer model
What to do next
If your organization runs badges for a school or a healthcare unit, the emergency contact field usually needs to sit alongside other required fields — allergy flags, room assignment, or a photo ID rule. The guide on ID card printers for K-12 schools covers how those layouts typically get prioritized when space on the card runs short.
One last thing
The field that actually gets used in an emergency isn't the one with the most information — it's the one someone can read in three seconds under bad lighting, which is why a two-line name-and-phone field at 12pt consistently outperforms a crowded block with relationship, address, and a second contact crammed onto the same badge back.
Every Bodno printer ships as a kit with Bodno ID Card Software, a ribbon and blank cards.