


If you are looking to improve your efficiency in designing ID cards or badges, utilizing the database feature in your Bodno software is the best way to go. This allows you to design everything one-time and just change a few things here and there to customize it for the next badge. Moreover, databases allow you to create multiple ID cards and print them all in one go making you more organized and productive at work.
If you want to try utilizing the internal database feature of your Bodno Bronze edition software, simply follow the steps below.
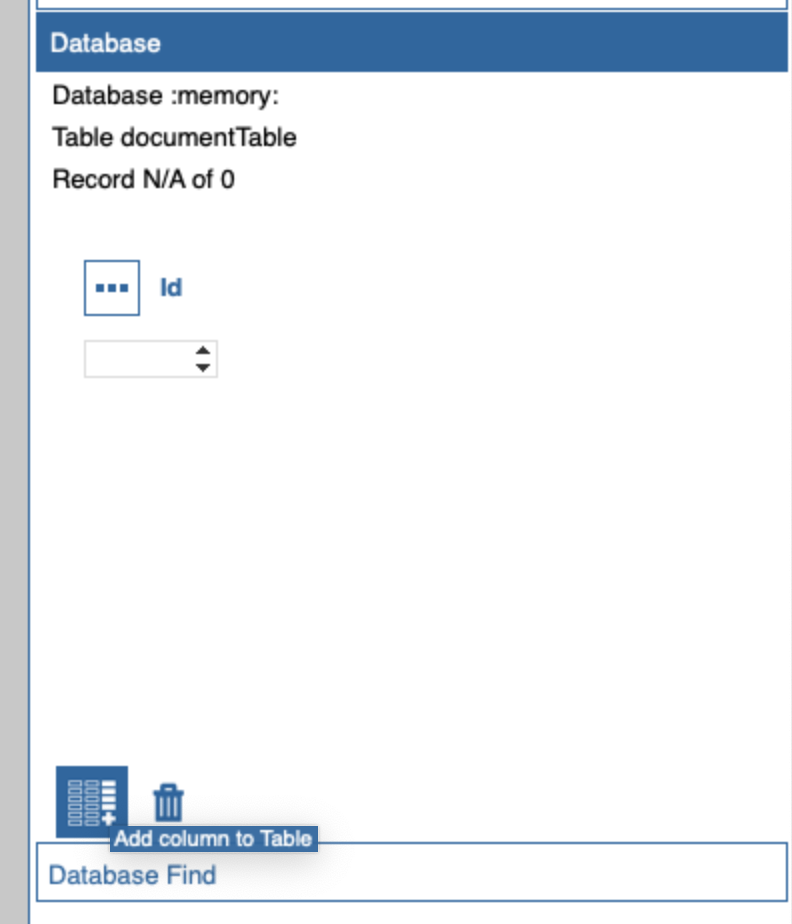
- On the design view, click the Connect to Database button.

- This will open the database window on the right panel. To add columns to your database, click the Add Column to Table icon on the lower left.
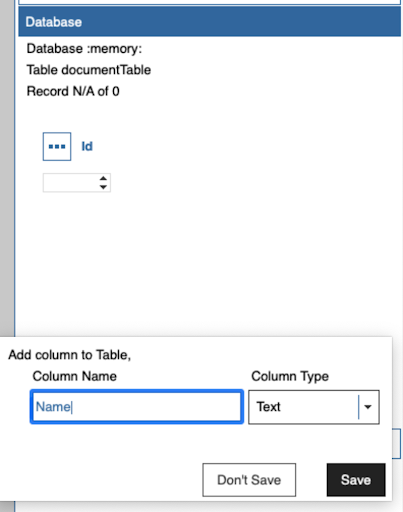
- Type in the name of the column and repeat this step until all necessary columns are created.
- When done with the columns, click the Insert Record button at the top to start adding records to your database.

- When the database is fully set up, drag and drop the columns to the blank ID canvas; this way, the records automatically change as you click next.
Bodno’s internal database can hold up to 200 entries which makes it great for batch printing. However, if you want to store more than 200 entries in a database, it would be best to upgrade to the Silver edition of the Bodno software. The Silver edition has the capability to connect an excel database to Bodno which means you can store more entries in one database.
To connect an excel database in the Bodno Silver edition and above, follow these steps:
- On the design view, click the Connect to Database button.
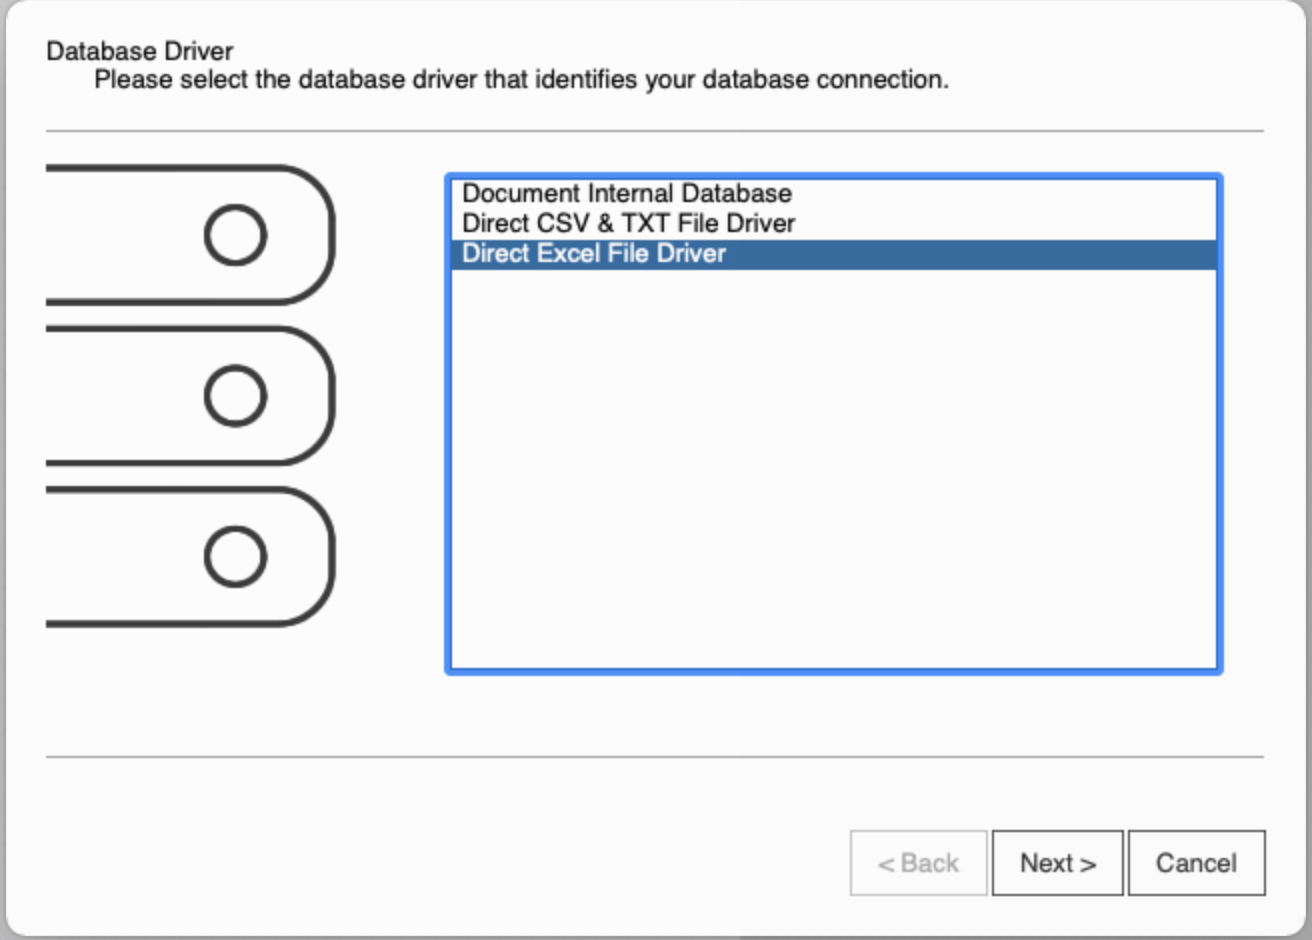
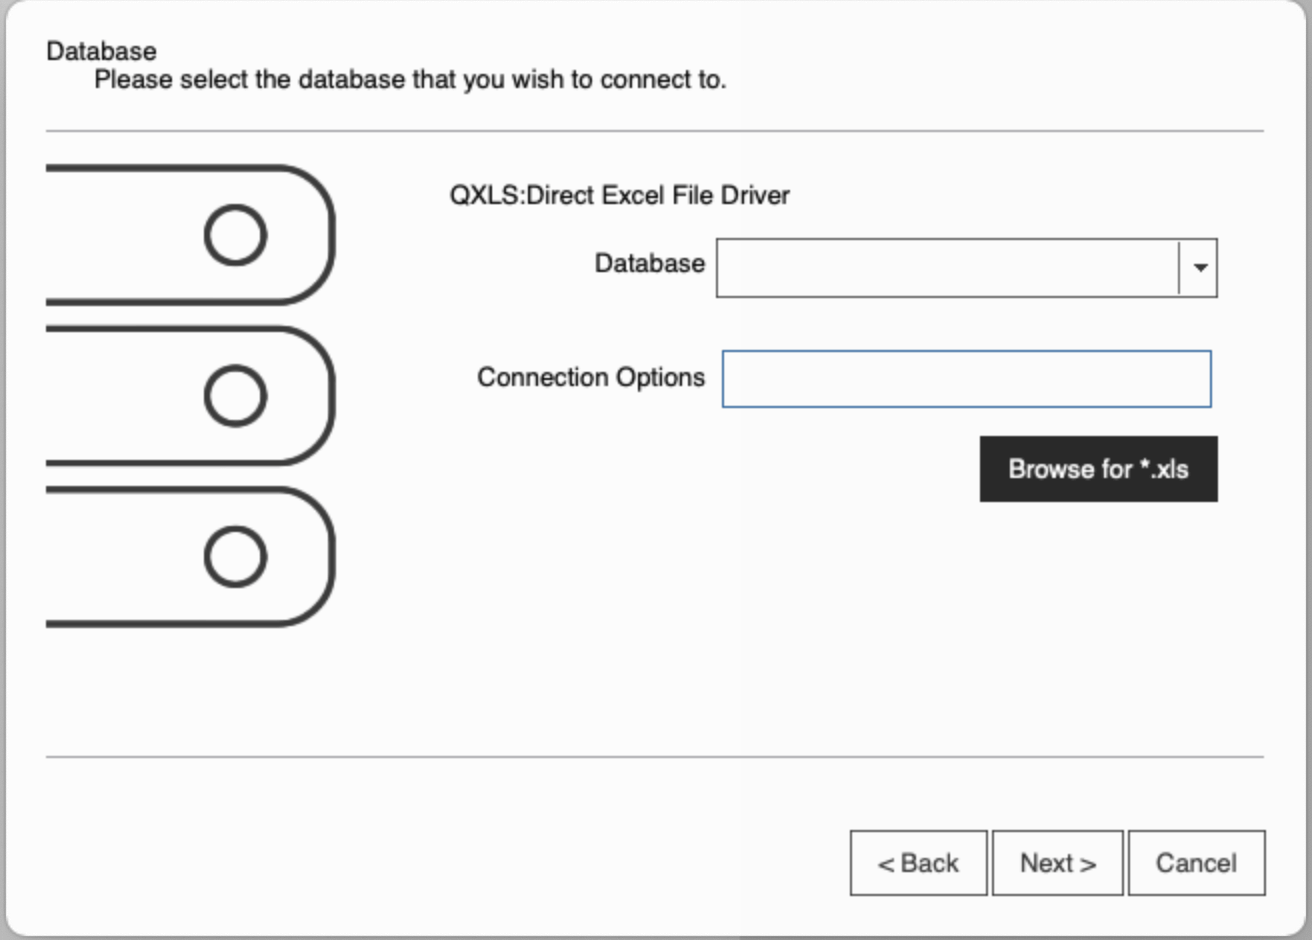
- Choose the appropriate option to connect either a CSV or Excel file.
- Click the browse button to locate the file.
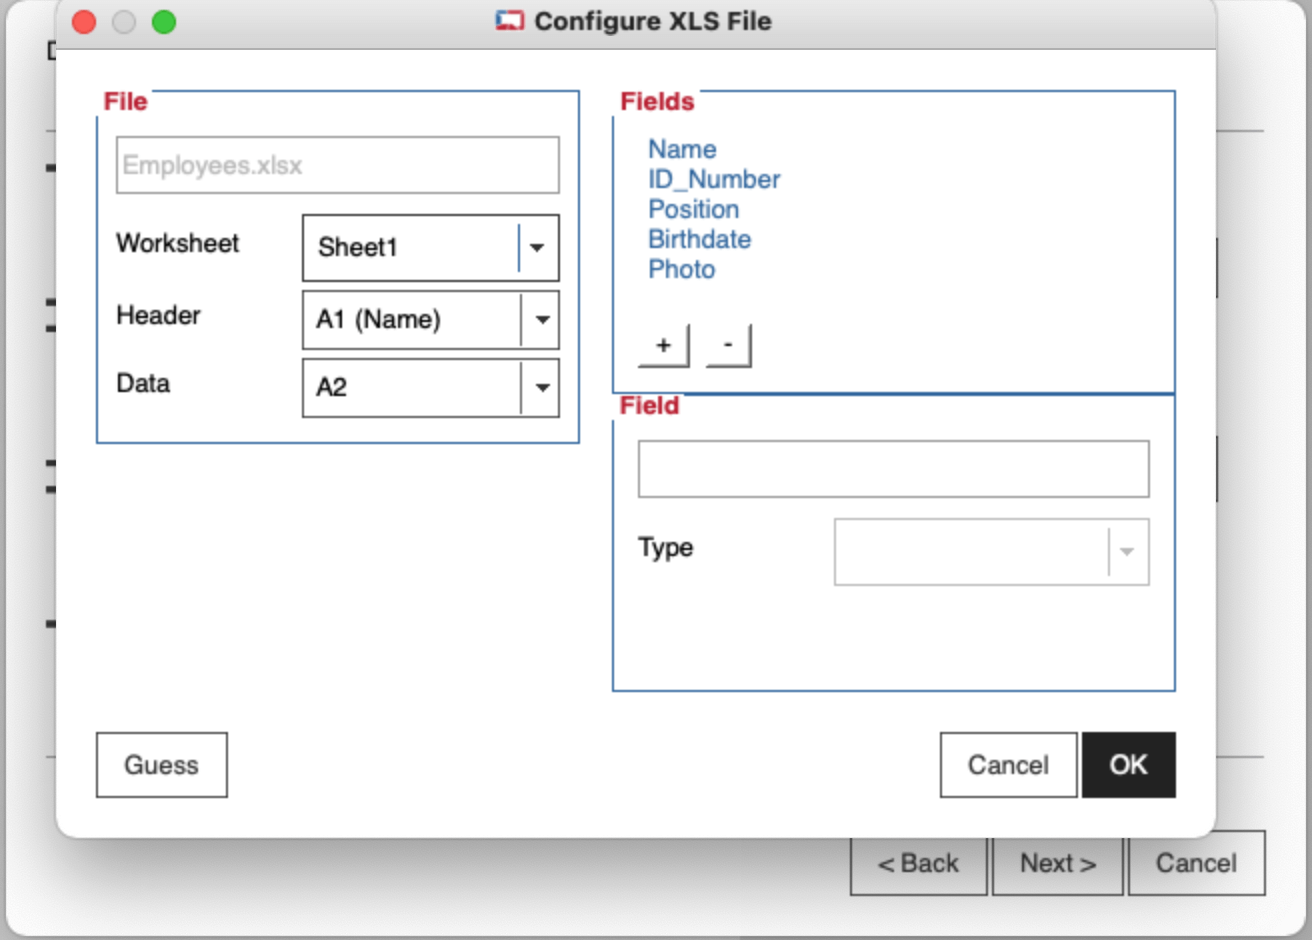
- When you see this screen, confirm that the worksheet, header and data fields are correct, then click OK.
- The software will automatically select the correct settings for you. Keep clicking Next until the database is connected successfully and you see the Database section below.
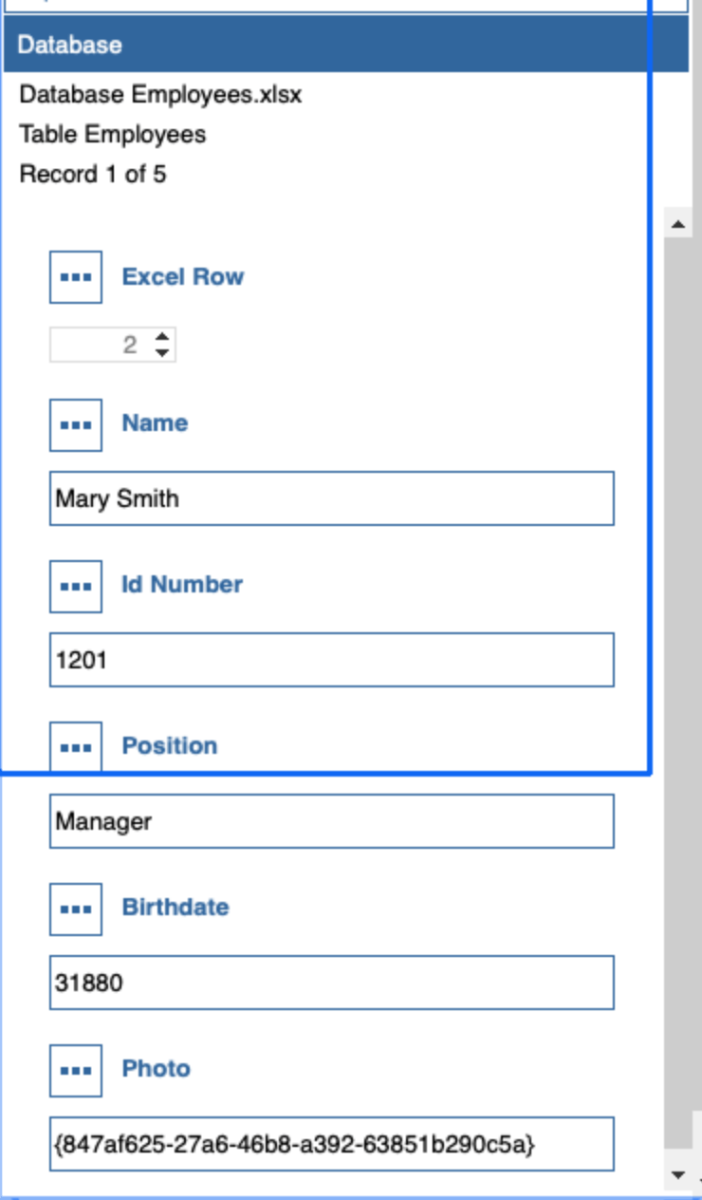
- When the database is fully set up, drag and drop the columns to the blank ID canvas; this way, the records automatically change as you click next.
Following these steps should instantly lessen the work you do when designing and organizing your company’s IDs and badges. Get your Bodno license here or upgrade your Bodno software here.
