


 Bodno A10From $995
 Bodno A20From $1,595
 Bodno A30From $1,995
 Bodno A40 ProFrom $2,995
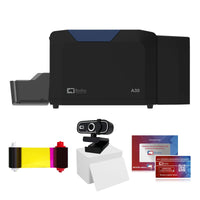 vs.
vs.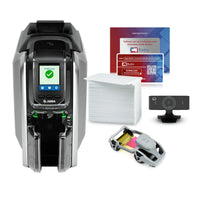

 CR80 30 mil PVC cardsFrom $3.99
 Adhesive-backed PVC cardsFrom $9.99
 Proximity cards (NoMativ)From $14.99
 NTAG NFC cards, 100 packFrom $59.00
 Buy the softwareDesign and print ID cards on PC and Mac

On this page
The internal database saves each cardholder's details right inside your Bodno card design, so you can find and reprint any card later without typing it again. It's included in every edition of Bodno ID Card Software, starting with Bronze.
Step 1: Connect to the internal database
Open your card design and click Connect to database.


Step 2: Add your columns
In the Database dock bar on the right, click Add Column.
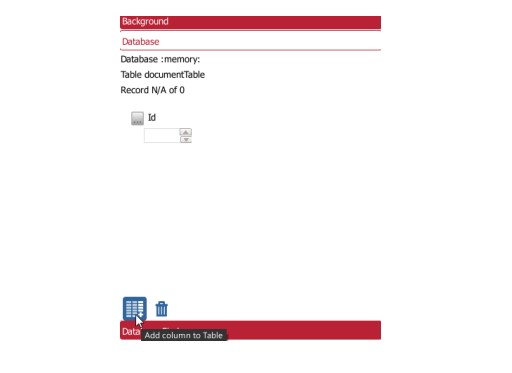
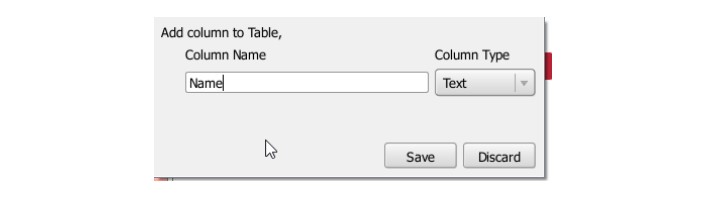
In the window that opens:
- Under Column Name, type the name of the field (for example First Name).
- Under Column Type, choose the kind of data it will hold.
- Click Save.
The new column appears in the Database dock bar right away.
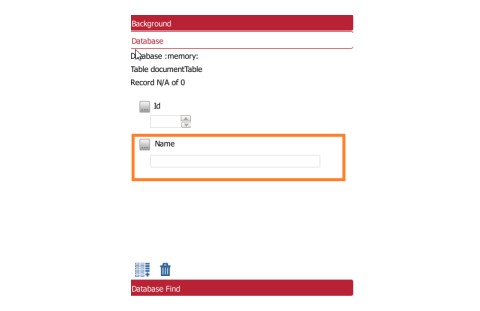
Repeat this for every field your card needs, such as First Name, Last Name, ID Number and Photo.
Step 3: Add a cardholder
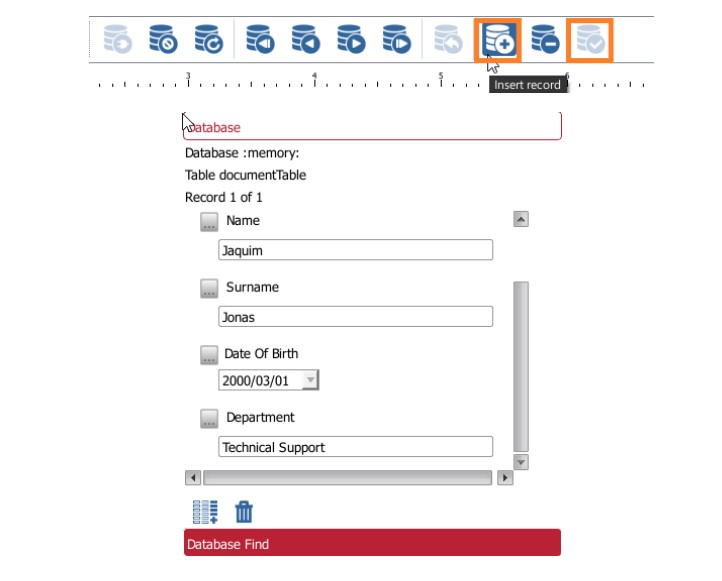
In the Database dock bar, click Insert record, fill in the fields and click Save changes. Each record is saved with your design, so you can pull it up and reprint the card any time.
Already have your list in Excel?
You can connect your spreadsheet instead of typing records one by one. See how to connect to an Excel database (Silver Edition and up).
Need help?
Call us at (732) 987-5300, option 3, or email support@bodno.com.
Download it, activate it, or add another license. Activation codes arrive by email in 15 minutes.
